Our dropshipping service platform gives you the ability to sell your ideas,
designs or merch without any setup expenses or storage needs.
We'll do all the heavy lifting, you focus on building your brand.
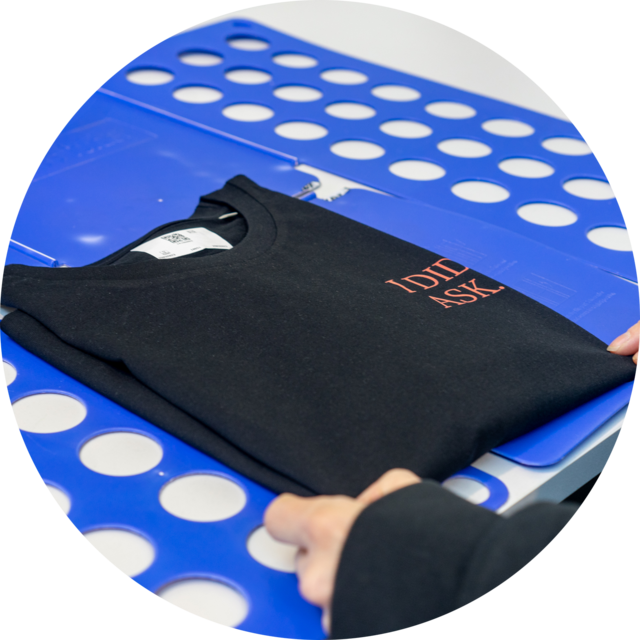
Every order gets printed or embroidered. No minimums or maximums with our service.
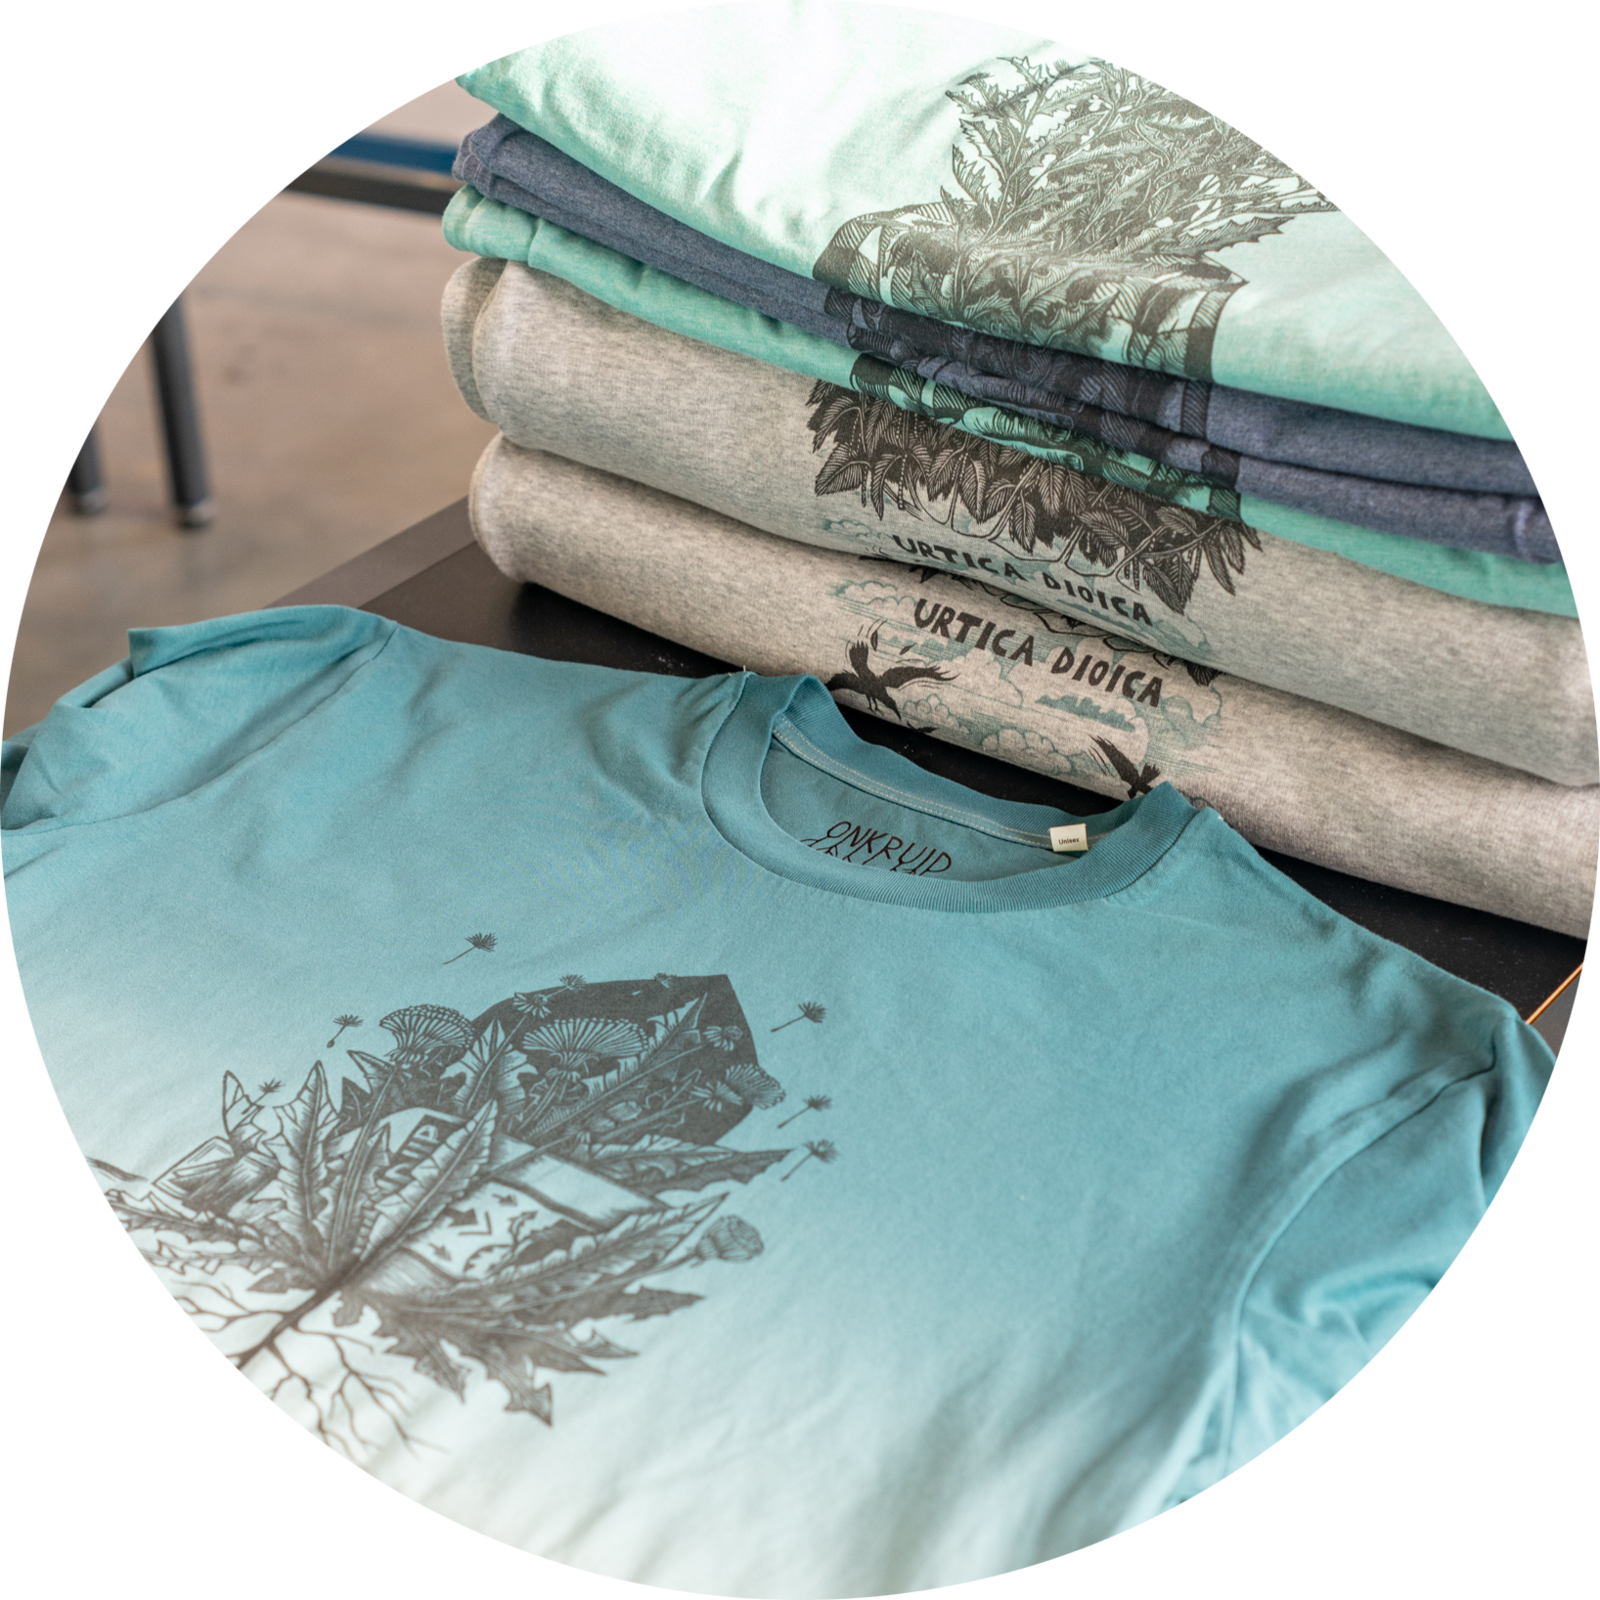
We use water-based inks for DTG and DTF, naturally-sourced rayon thread for embroidery and ship in recycled plastic packaging.
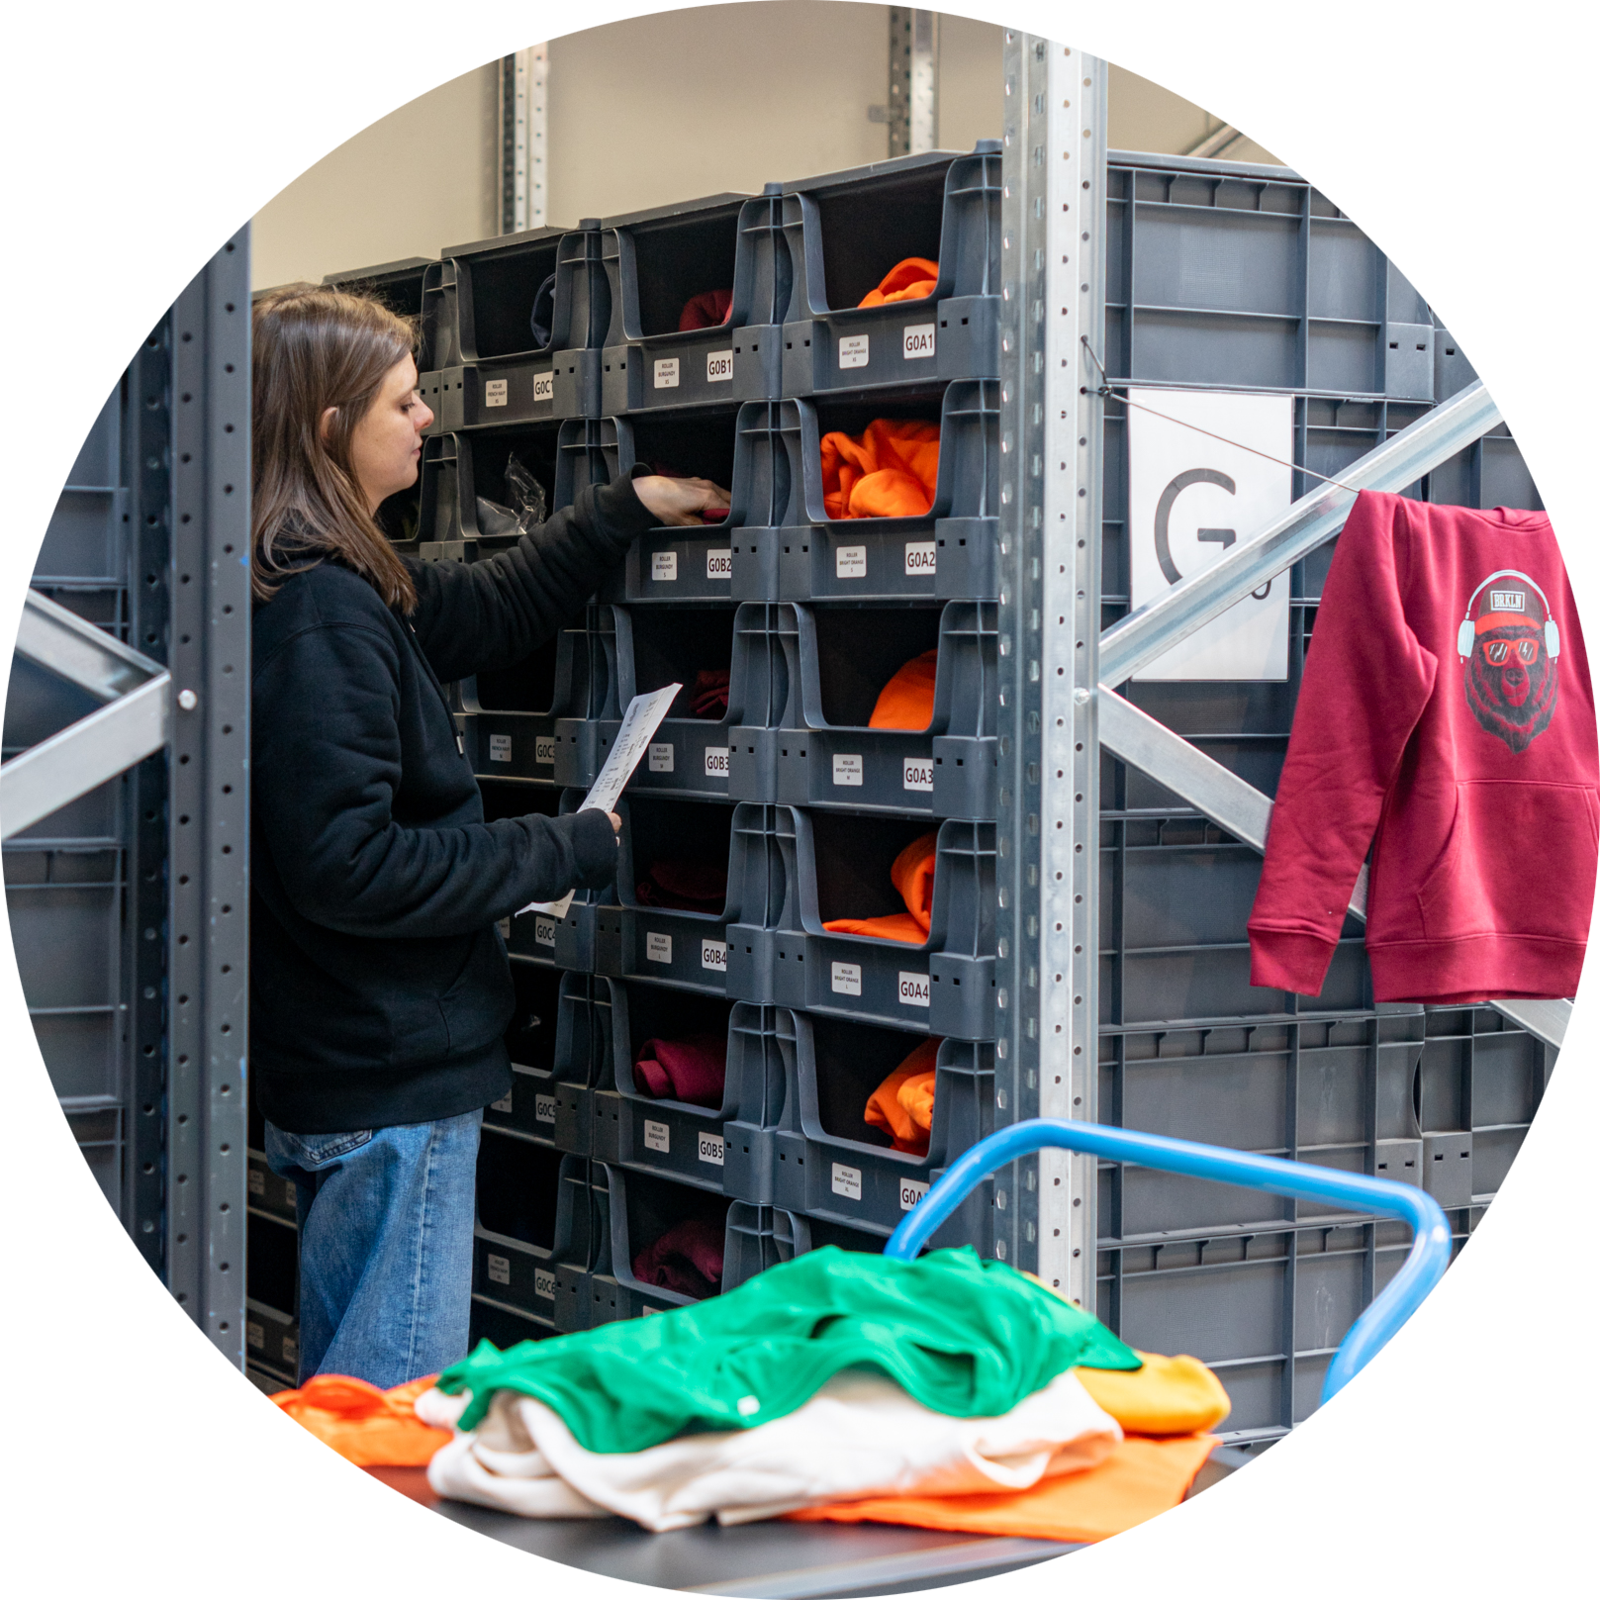
No more guessing games, We only print what you sell, so there's no stocking and most importantly, no waste.
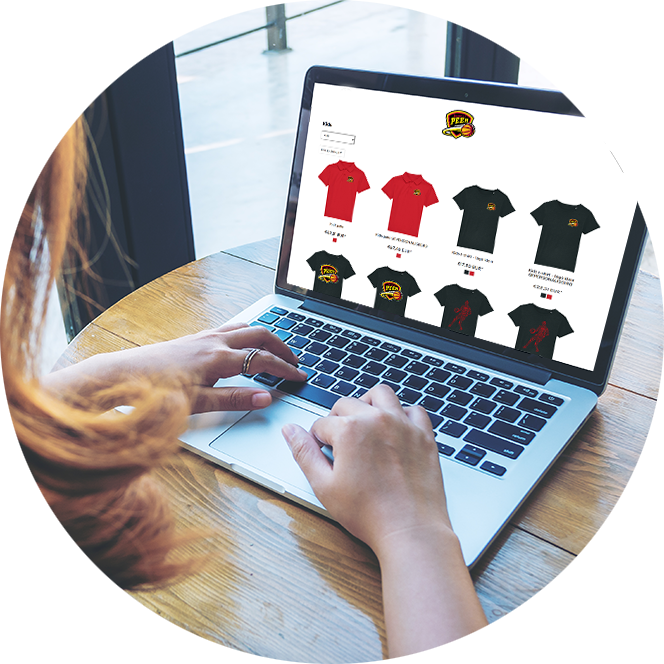
Our inbuilt web-builder packs a whole range of features for an effective web presence, without the need for coding.




Set up and style your free online store. No coding experience needed; our web-builder is pretty straight-forward. You can use our domain or you can use your own.
Ready to make your own shop? You can easily create your shop by watching this instruction video. Upload your designs, create your mockups and start selling!
Discover the magic of dropshipping. In this webinar we explain how you can easilly set up your own webshop. Dutch spoken.
Are you ready to make money with your own shop? Do you still have some questions concerning our dropshipping service?
Shedule a meeting with our team to discover all the possibilities.
1. Head over to the signup page here
2. Fill out the forms and choose a site name (don't worry, you can change this later)
Go to decorated products
# Be careful that your design looks nice on all colours, i.e a white design will look good on a dark garment but might not look nice on a white t shirt.
Repeat this process for each of your designs.
The key to getting a quality print is your design file. It needs to be high-res and crisp. The way to check this is to zoom in on the design on your computer monitor so the design is as big as you want it printed in real life. If it looks neat and crisp (not pixelated) then it will print well. Make sure your files are at least 300dpi, and if that doesn't make sense to you, ask a Graphic Designer to help prepare your files. If you are ever unsure if something will print well or not you can always email the design in to us to check here.
Click on edit website on the left side of your admin screen. From here you can change the branding, colours, text and themes for the entire website by clicking Design. To edit a website individually you just click on the page you want to edit from the pages tab or create a new page or clone an old page. To add photo's, text boxes, banners or video's you click the widgets button on the left.
You can set a default markup storewide by going to Price Settings, most of our stores set this at a fixed amount of $17.04 which makes the AS Colour branded t shirts sell for $40 each automatically. But you can also override this price on a per product basis. This is the final step you go through when you create a product. To change the price you untick use store markup and type in the “ex vat” price. If you want to sell for 40 euro you need to make sure the ex vat price is 33.06 euro. There’s a handy calculator here to help.
Change the retail price to what you would like to sell the items for.
Or you can change all the pricing for your store products at once (unless they have a custom price) by changing the default markup. You can do that by following these steps:
Inker has an automated system for handling store commissions. It works like this:
To make sure you receive your commission payments you need to set up a PayPal account and enter the details into the store by following the below steps:
*you must have a PayPal address to set up a dropshipping account with us
Your clients will have their items in approximately 5 days + shipping from placing their order.
We ship our products out in plain, unbranded and eco-friendly packaging.
As the store owner and administrator for your dropshipping site, you are responsible for the customer service for your shop, however we are always here to help if you require assistance, for example assisting you with organising reprints if necessary. In these rare cases, you can reach out to us in the customer service team via the email address info@inker.be and we can work with you to find the best solution for your customer.
The way to order prototypes is to place and pay for an order through your store by temporarily making your store markup 0 euros. That way you pay for samples at cost price.

